How to install and use LoRA models in Stable Diffusion
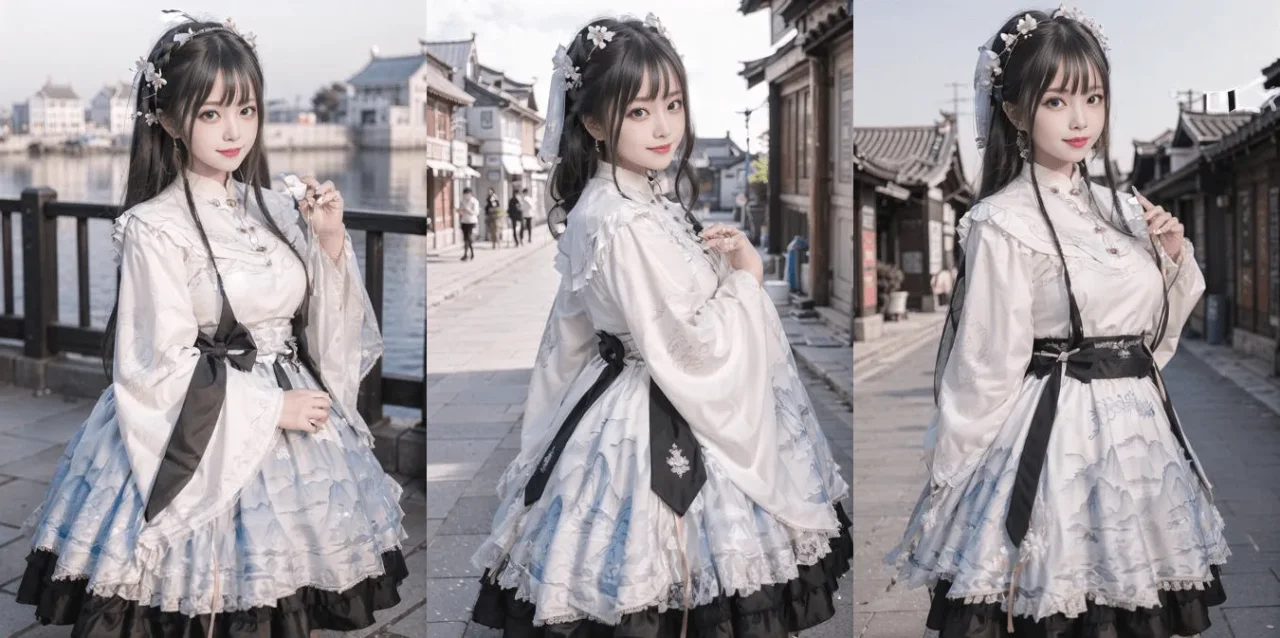
Table of Contents
LoRA (Low-Rank Adaptation) is a small add-on file for the main Stable Diffusion model that teaches it a specific style, character, outfit, pose, or object. The main model (checkpoint) remains unchanged, while LoRA is connected to it during generation. This makes it possible, for example, to create an image in the style of a particular artist or the same character in different images without changing the large model.
How LoRA differs from other add-ons
| Add-on | What it does | Size |
|---|---|---|
| Checkpoint | The main model; generation is impossible without it | Several gigabytes |
| LoRA | Adds a style, character, outfit, or concept | Usually tens or hundreds of megabytes |
| Embedding (Textual Inversion) | Adds a new “word” to the prompt | Kilobytes |
| ControlNet | Defines the pose, contours, and composition based on an image | Hundreds of megabytes or more |
The main rule: LoRA must match the base model
LoRA is trained on a specific base model and works only with that base. An LoRA for SD 1.5 will not work with SDXL, and an LoRA for Pony will not work with standard SDXL. The model page on Civitai specifies the “Base Model.” Match it to your checkpoint:
| LoRA for | Works with checkpoints |
|---|---|
| SD 1.5 | SD 1.5 and models based on it (DreamShaper 8 and others) |
| SDXL 1.0 | SDXL and its fine-tuned models (Juggernaut XL, RealVisXL, DreamShaper XL) |
| Pony | Pony Diffusion V6 XL and its derivatives |
| Illustrious / NoobAI | Illustrious XL, NoobAI-XL, and derivatives |
| Flux | FLUX.1 (dev or schnell: check the LoRA page) |
If you use an incompatible LoRA, the result may be distorted or empty, or an error may occur.
Where to find LoRA
The main catalog is Civitai; another option is Hugging Face. On Civitai:
- Open the Models section and enable the “LoRA” type filter.
- In the “Base model” filter, select the base of your checkpoint: SD 1.5, SDXL 1.0, Pony, Illustrious, Flux.1, and so on.
- Sort the list by popularity (Most Downloaded) or rating.
- Open the model page and read the description: it specifies trigger words, the recommended weight, and recommended settings. Many LoRA models will not have any effect without the trigger word.
How to install LoRA
Using Stability Matrix (the easiest way). Open Model Browser, select the LoRA type, find the model on Civitai, and click “Download”: the file will be placed in the shared model folder available to Forge, ComfyUI, and other installed interfaces. For more information about Stability Matrix, see the installation guide.
Manually. Download the .safetensors file from the LoRA page and place it in your interface’s LoRA folder:
- Forge and AUTOMATIC1111:
stable-diffusion-webui\models\Lora.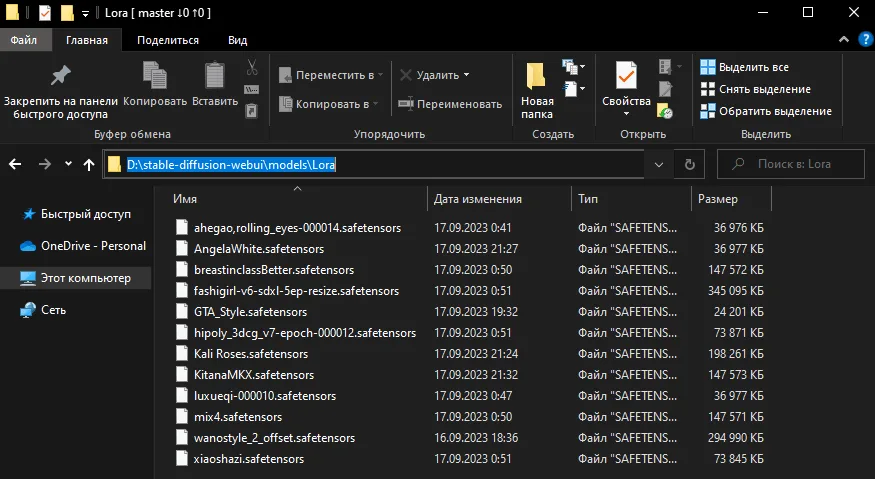
- ComfyUI:
ComfyUI\models\loras.
If you installed Forge through Stability Matrix, look for the models\Lora folder inside the package folder, but downloading the model through Model Browser is easier.
How to use LoRA in WebUI (Forge, AUTOMATIC1111)
- Open the txt2img (or img2img) tab and switch to the Lora tab below the “Generate” button.
- If the downloaded model is not in the list, click “Refresh.”
- Click the card for the required LoRA: a line in the format
<lora:name:1>will be added to the prompt.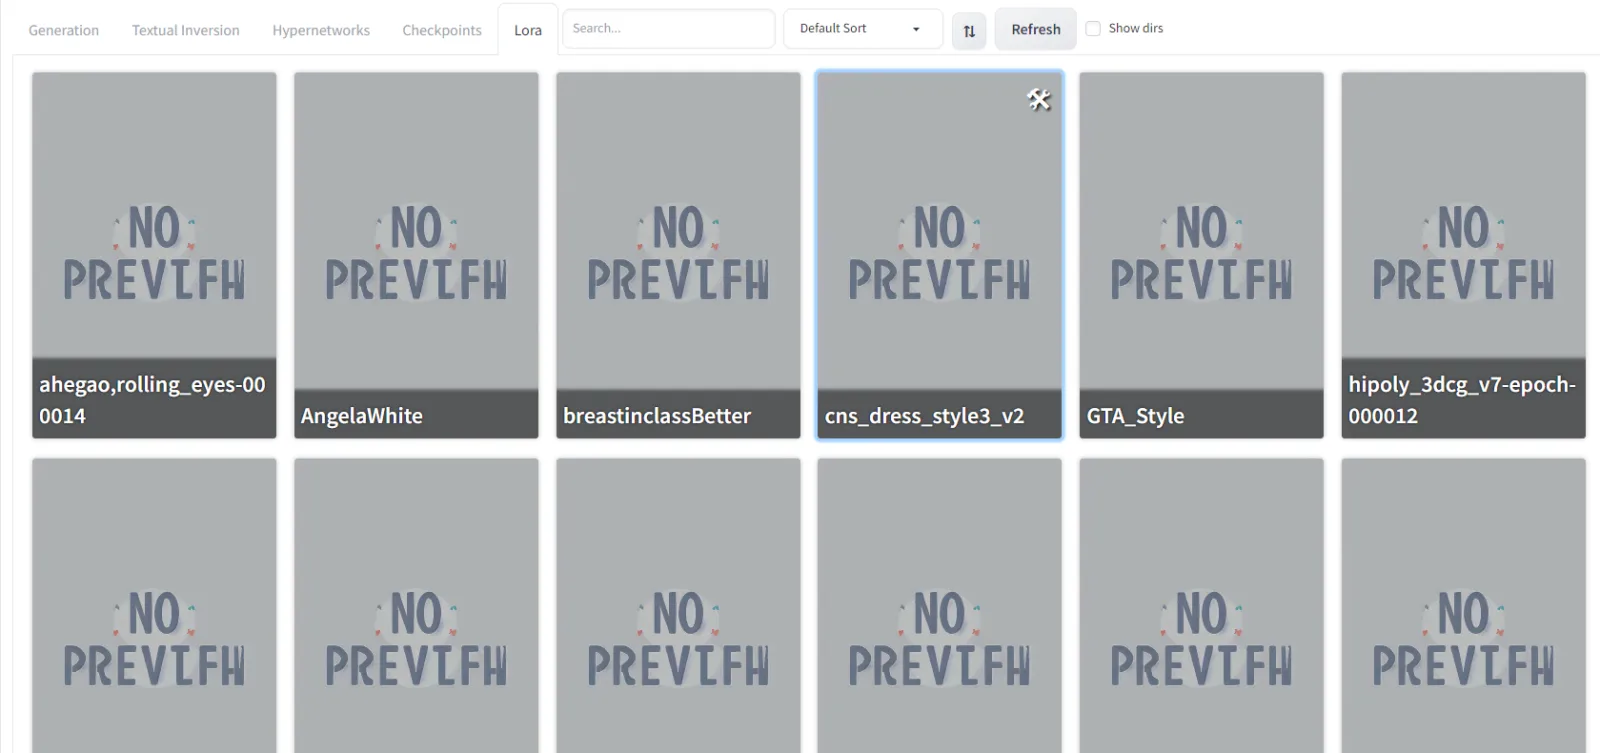
- Add the trigger word from the model page to the prompt if one is specified.
- Click “Generate.”
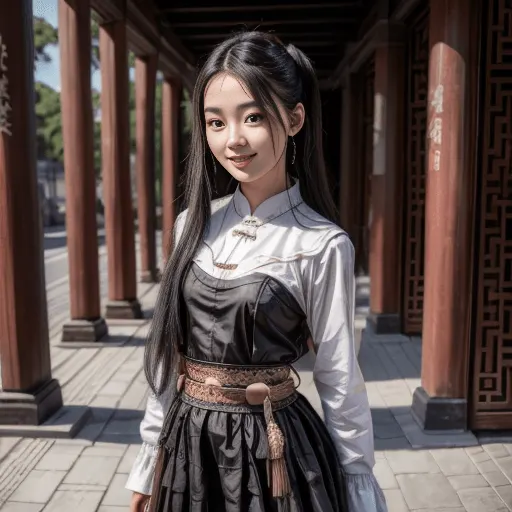
Here is an example prompt from an older version of the article, which used the clothing LoRA cns_dress_style3_v2:
realistic, photorealistic, masterpiece, best quality, 1girl, solo, smile, looking at viewer, long black hair, cowboy shot, cns_dress, pettiskirt, standing, (china jiangnan water town style:1.1), beautiful sky, netural lighting, <lora:cns_dress_style3_v2:1>
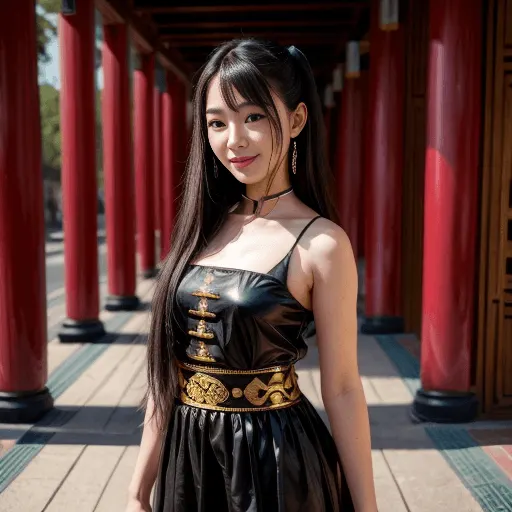
The word cns_dress is the trigger, while the number after the colon in <lora:…:1> is the weight (the strength of the LoRA effect). The left image shows generation without LoRA, and the right one shows generation with LoRA (using the same seed):
How to choose the LoRA weight
- The weight usually ranges from 0.6 to 1. The recommended value is specified on the model page.
- An excessively high weight “overcooks” the image, causing distortions and solid-color patches. An excessively low weight makes the LoRA have almost no effect.
- You can use several LoRA models simultaneously, for example, one for style and one for a character. In that case, reduce the weight of each one (for example, to 0.5–0.7); otherwise, they will start conflicting.
- If the LoRA style “bleeds through” everywhere, reduce the weight or remove the trigger word.
If LoRA does not work
- Check that the LoRA and checkpoint were created for the same base (SD 1.5, SDXL, Pony, Flux).
- Check that the file is in the correct folder and that you have clicked the “Refresh” button in WebUI.
- Add the trigger word from the model description.
- Try a different weight (for example, 0.7 and 1).
LoRA previews in WebUI
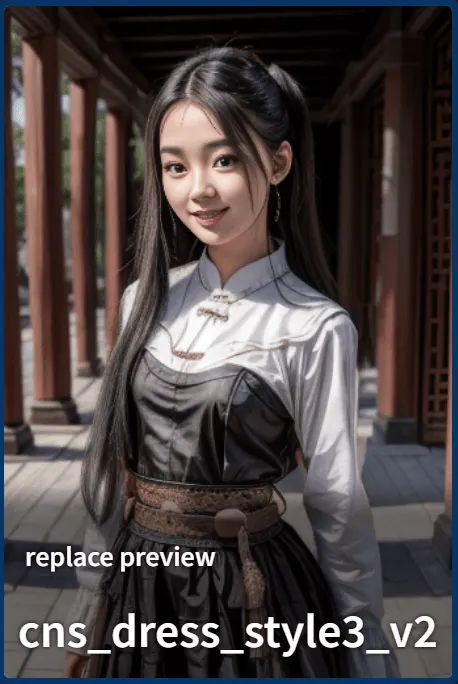
In interfaces based on AUTOMATIC1111, you can set a preview image for an LoRA card: generate an image with this LoRA, find the card in the Lora tab, and click the edit button (the tools icon), then “Replace preview.” This will help you find the required LoRA faster among dozens of files.
Your own LoRA
You can train your own LoRA on your images using training programs such as kohya_ss, OneTrainer, and AI-Toolkit (often used for Flux). This is a separate topic: you will need a prepared dataset, image captions, and a GPU with sufficient memory.
What’s next
Choose a specialized model-checkpoint, add the pose and composition through ControlNet, and build a prompt using ready-made prompts or prompt generators. If generation takes too long, read how to speed up Stable Diffusion.

I study AI not as magic but as a tool. I love order in data and complex systems.