How to Add Gemini to VS Code
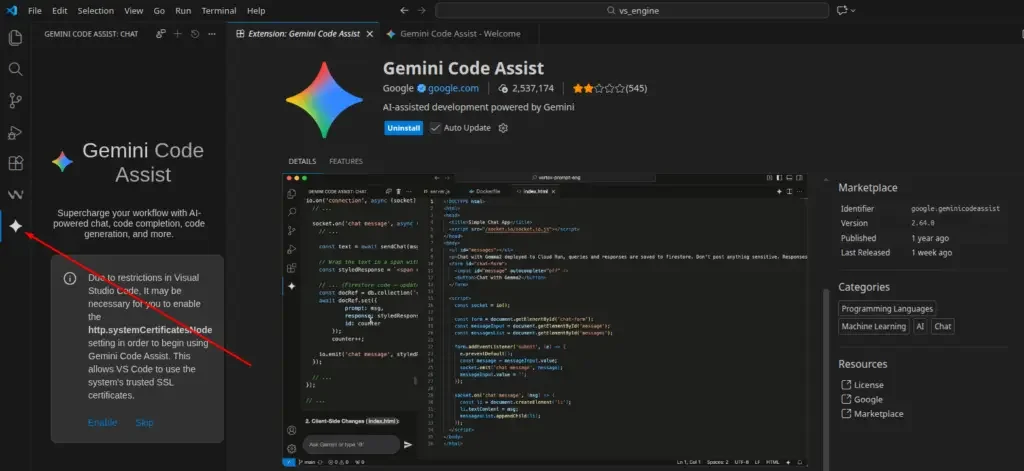
The process of adding Gemini is as simple as possible and takes just a couple of minutes:
- Open VS Code.
- Go to the Extensions tab (Ctrl+Shift+X).
- Search for “Gemini Code Assist” (formerly known as Google Cloud Code).
- Click Install.
- Once installed, click the “star” icon (Gemini) in the sidebar and select “Login to Google”.
- Sign in with your regular Google account.
What Does This Offer a Professional (DevOps/SEO)?
For your tasks, Gemini Code Assist will work as an advanced “coding partner”:
- Writing and debugging Bash/Python scripts: You can select a piece of code and ask, “Add error handling to this loop” or “Optimize this pipeline.”
- Generating configurations: Quickly create complex Nginx configs, for example, to configure redirects during an SEO migration, or write multi-stage Dockerfiles.
- Code explanation: If you are working with someone else’s Legacy code on GitHub, Gemini can explain the logic behind a complex script line by line.
- Unit tests: Automatically generate tests for your automation tools.
- Vulnerability scanning: Help identify unsafe constructs in scripts or Docker images.
What Are the Advantages over a Regular Browser Chat?
- Project context: Unlike the web interface, Gemini in the IDE can “see” your project structure, open files, and dependencies. This makes its suggestions much more accurate.
- Inline autocompletion: It suggests code as you type, just like GitHub Copilot.
- Terminal: Gemini can help compose commands directly for the IDE terminal.
Important note for certain countries: Full access to all Google Cloud Code features, especially those related to Google Cloud Platform, may sometimes require a VPN, although the Gemini chat in the IDE itself usually works reliably. You may see the following message: "Your current account is not eligible for Gemini Code Assist for individuals because it is not currently available in your location."

Author: Ai Pedia
I study AI not as magic but as a tool. I love order in data and complex systems.